Tenant Table
About
In this Tenant Table, you get an overview of all Tenants that you have access
to.
Anatomy
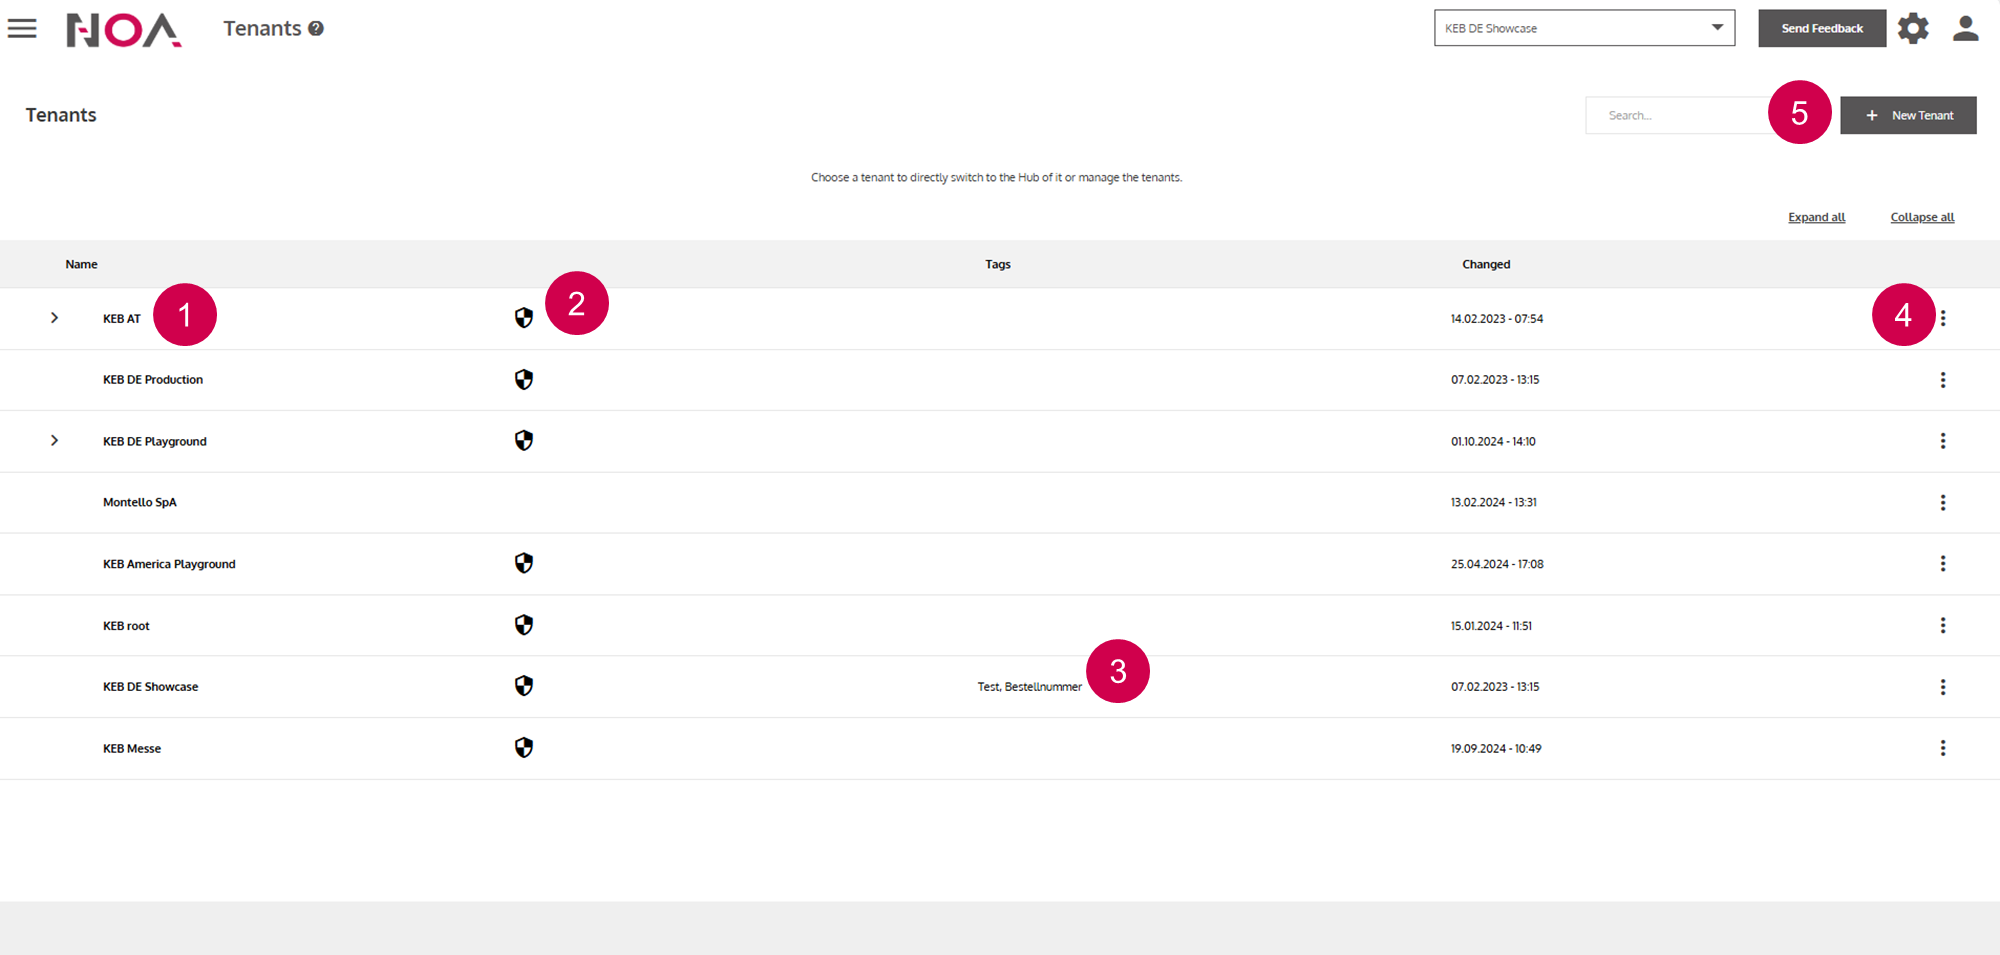
Name of the
TenantYou can see whether you are a User (no icon) or an Admin („shield“ icon) in this
TenantTenant Tags (see Tenant Details)
Tenant Options(see below)Create a new
Tenant(similar view to Tenant Details)
Tenant Options
Via the Tenant Options you have multiple possibilities to interact with
Tenants.
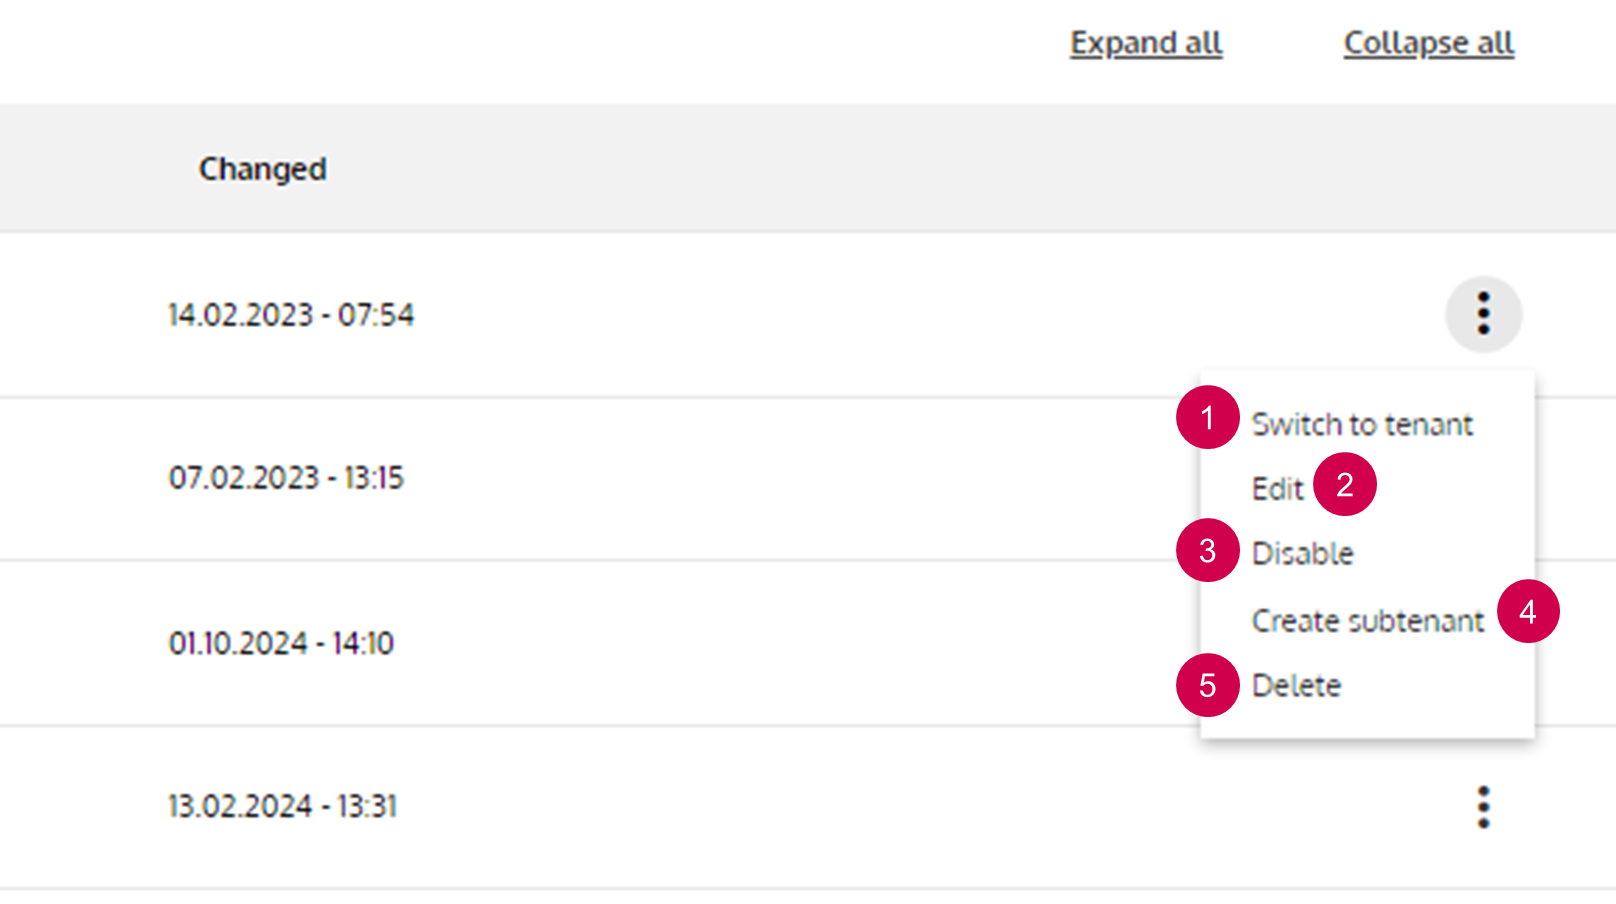
Change your current
TenantNavigate to the Tenant Details
Disable (see below)
Create a Subtenant
Delete the selected
Tenant. ATenantcannot be restored. Be careful!
Disabling the tenant means that no user is able to switch to this Tenant.
Other configurations of this Tenant (created Assets, ...) or data send
from Devices are not affected. This is e.g. useful, when a customer has not
payed their bills and you want to enforce the payment. You can manually
activate a Tenant again.