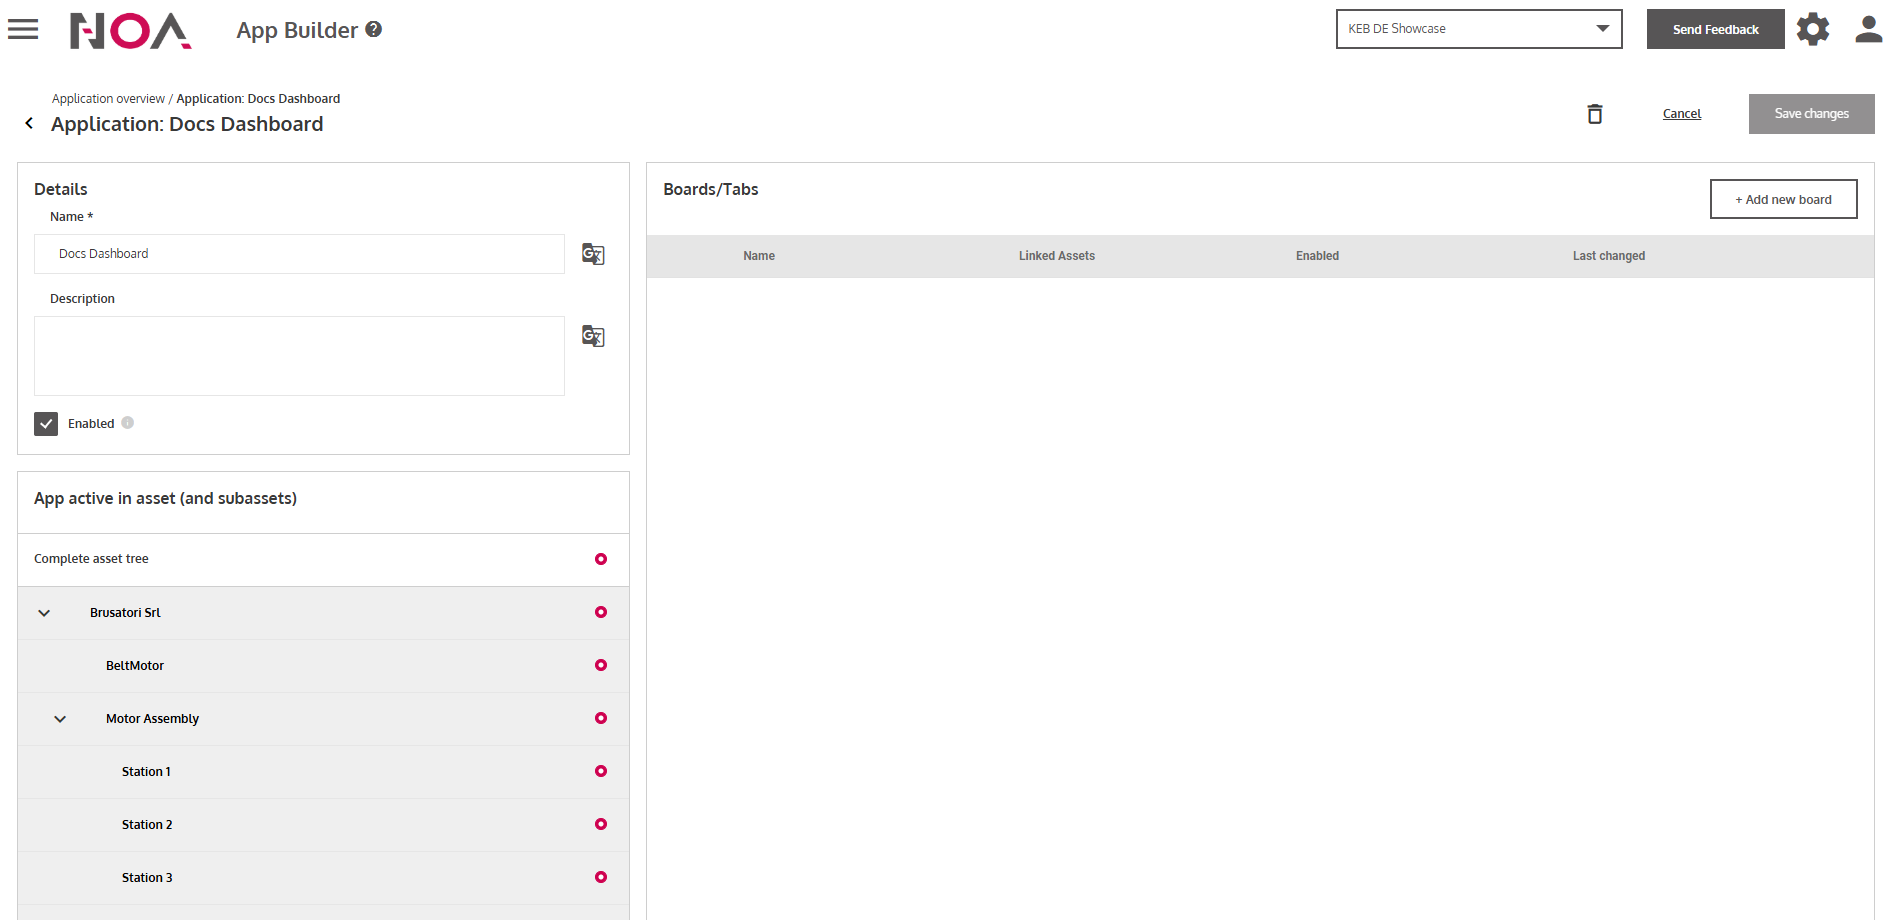
Build a Dashboard
You can create a Dashboard for the Assets of your Tenant via the App Builder. As a prerequisite to this guide, you need to perform these actions first:
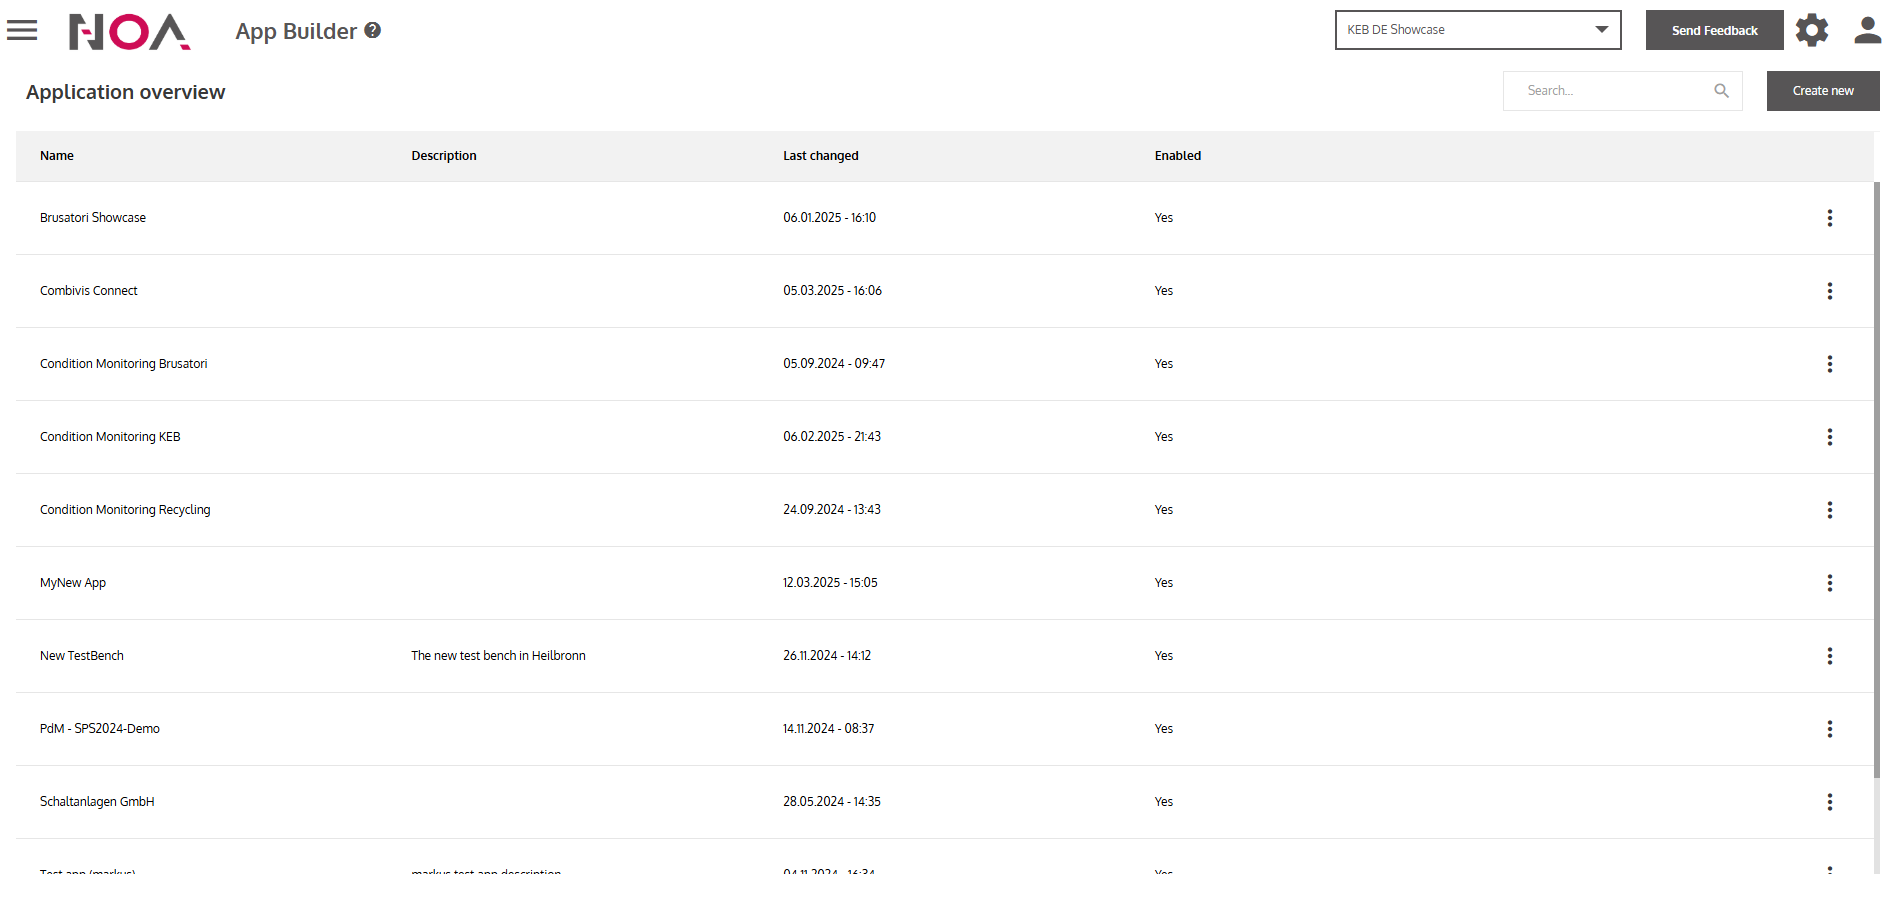
- Open the App Builder
- Click on Create new
- Enter a Name for your Dashboard
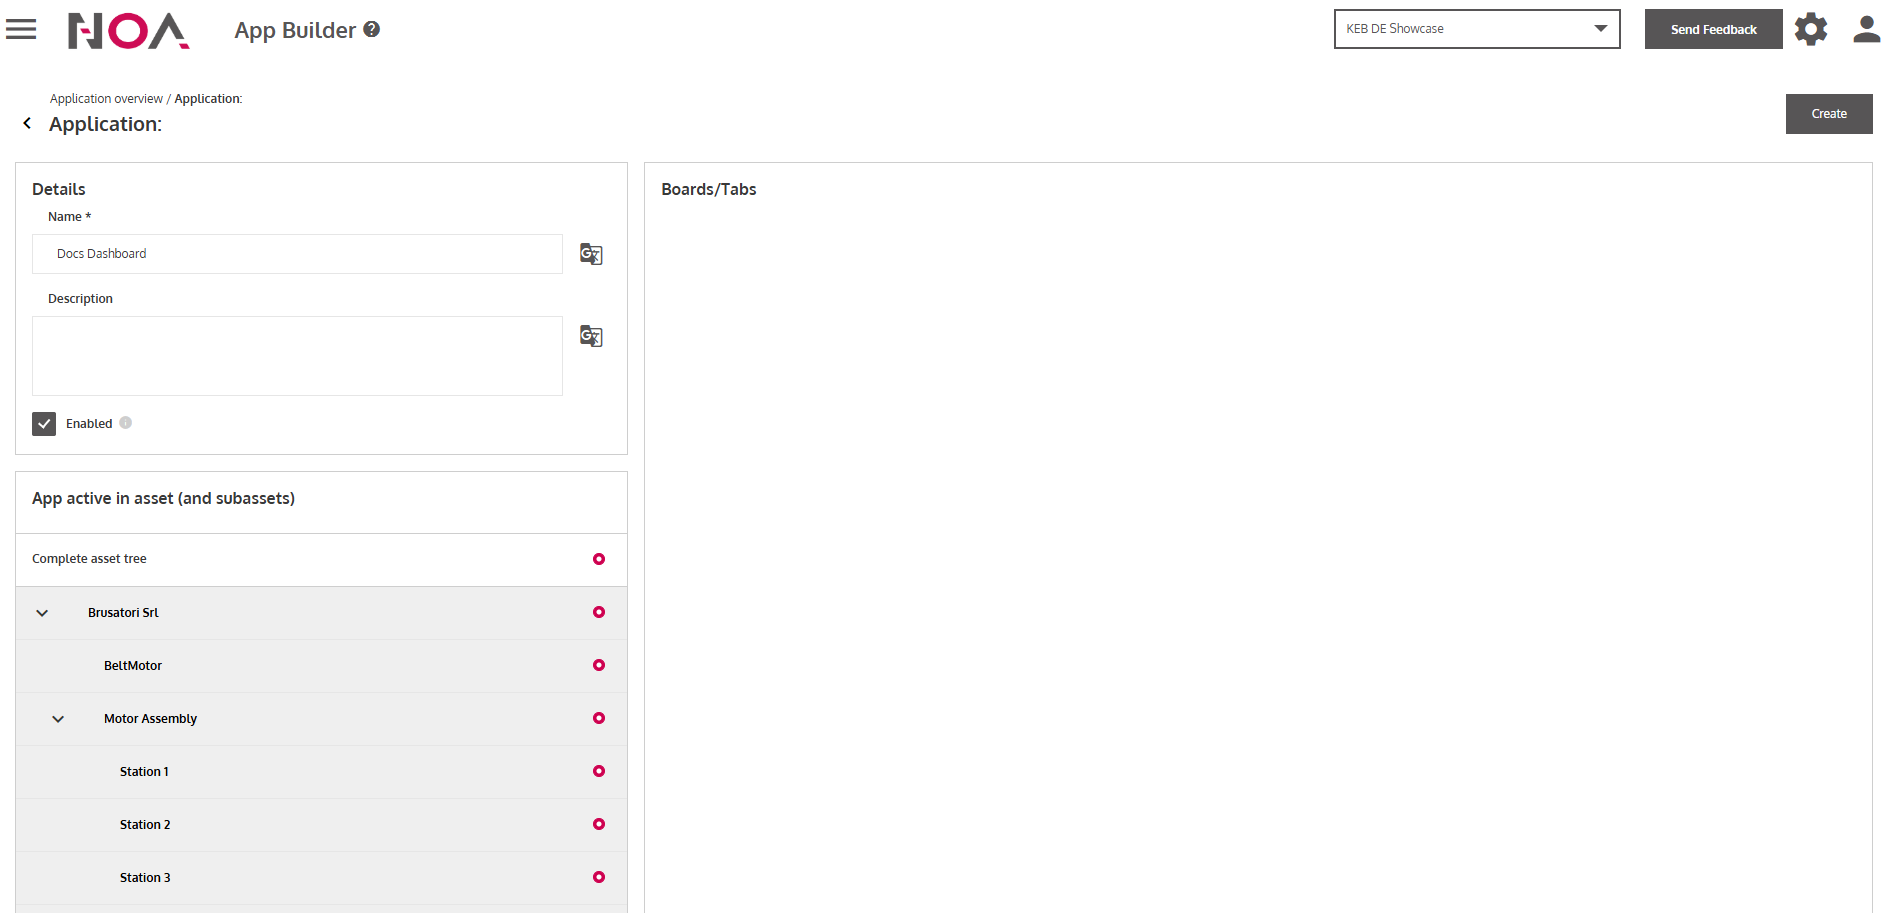
- Toggle the checkbox Enabled
- Click on Create at the top right
… to create the Dashboard with the name that you have entered before.
- Click on Add new board
- Enter information of your board

- Select an Asset that this board will be displayed on
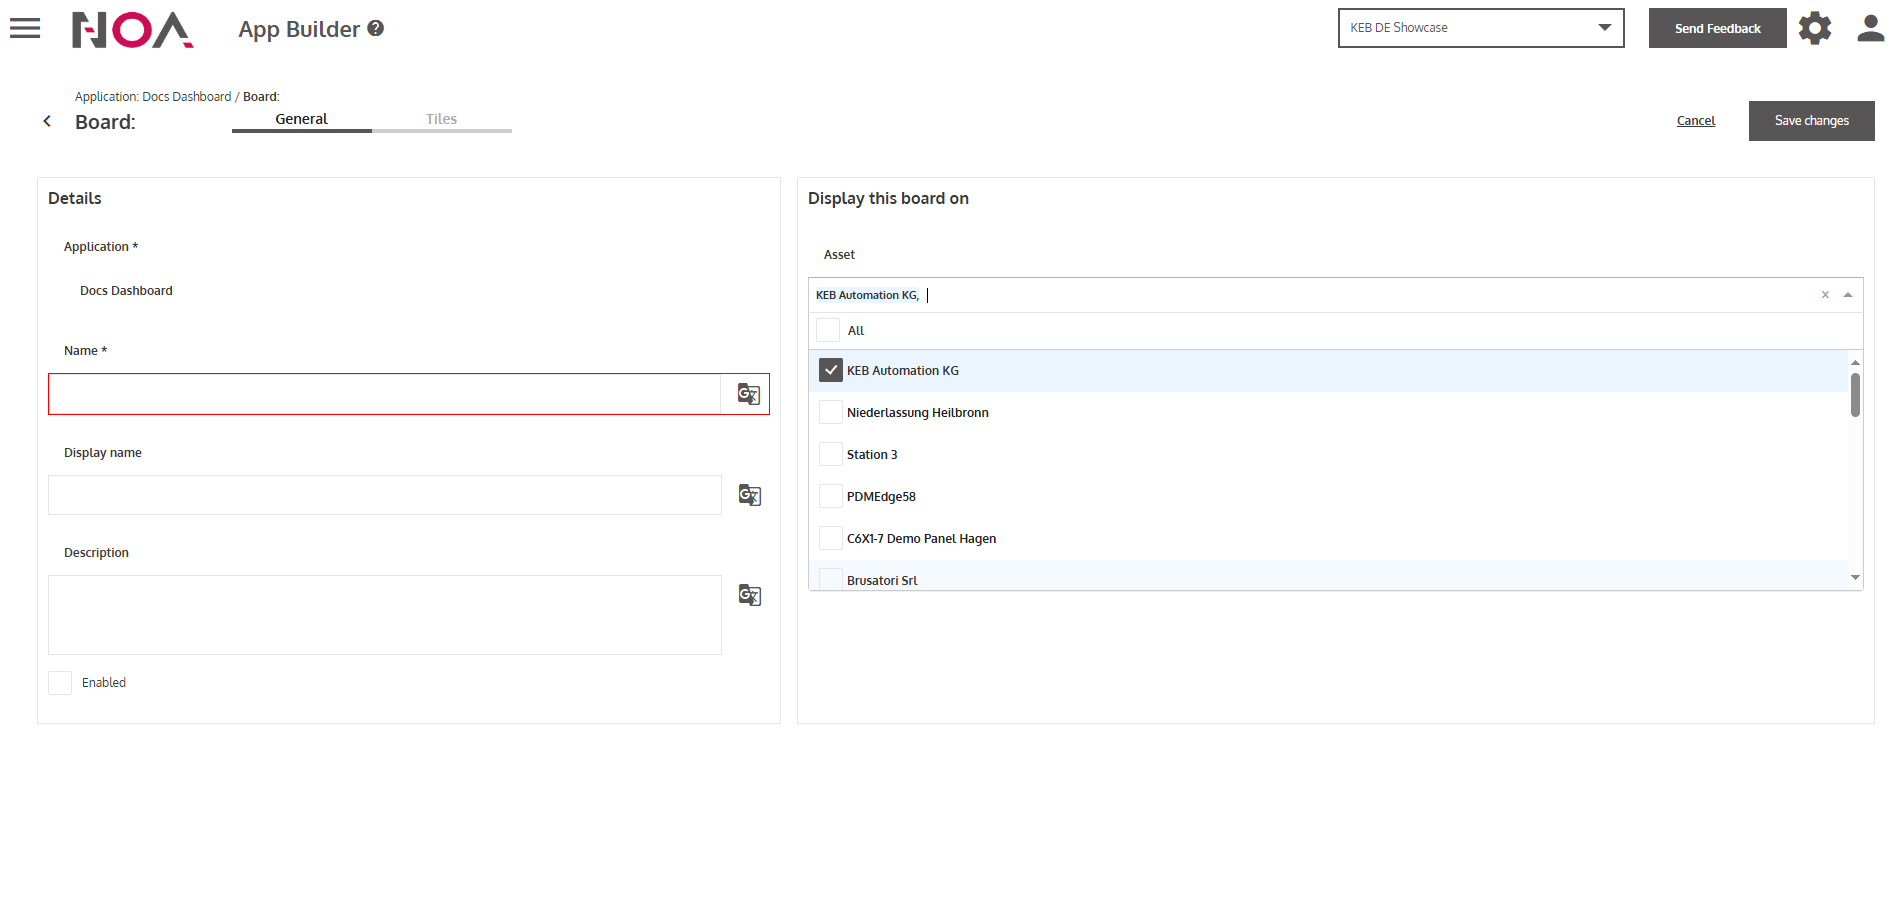
- Press Save changes
… to save your selections.
- Switch to the Tiles Tab
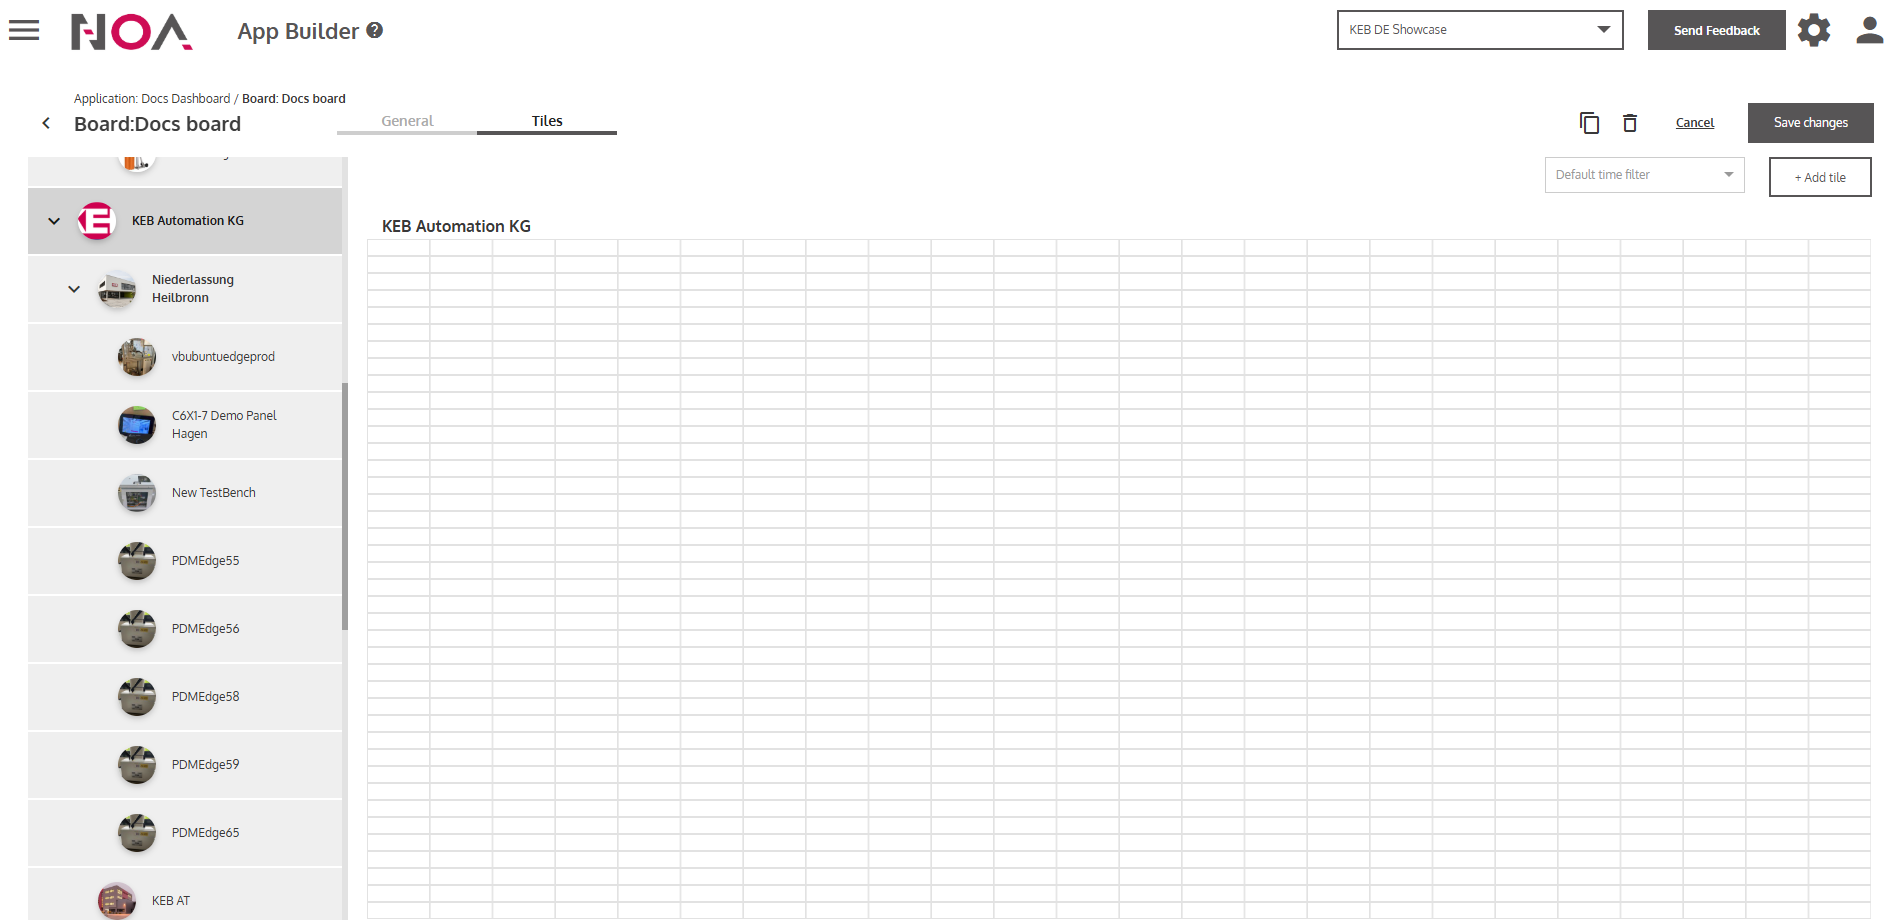
Now we are adding a Grafana Panel to your board!
- Click on Add tile
… to open the Tile store (see Tiles)
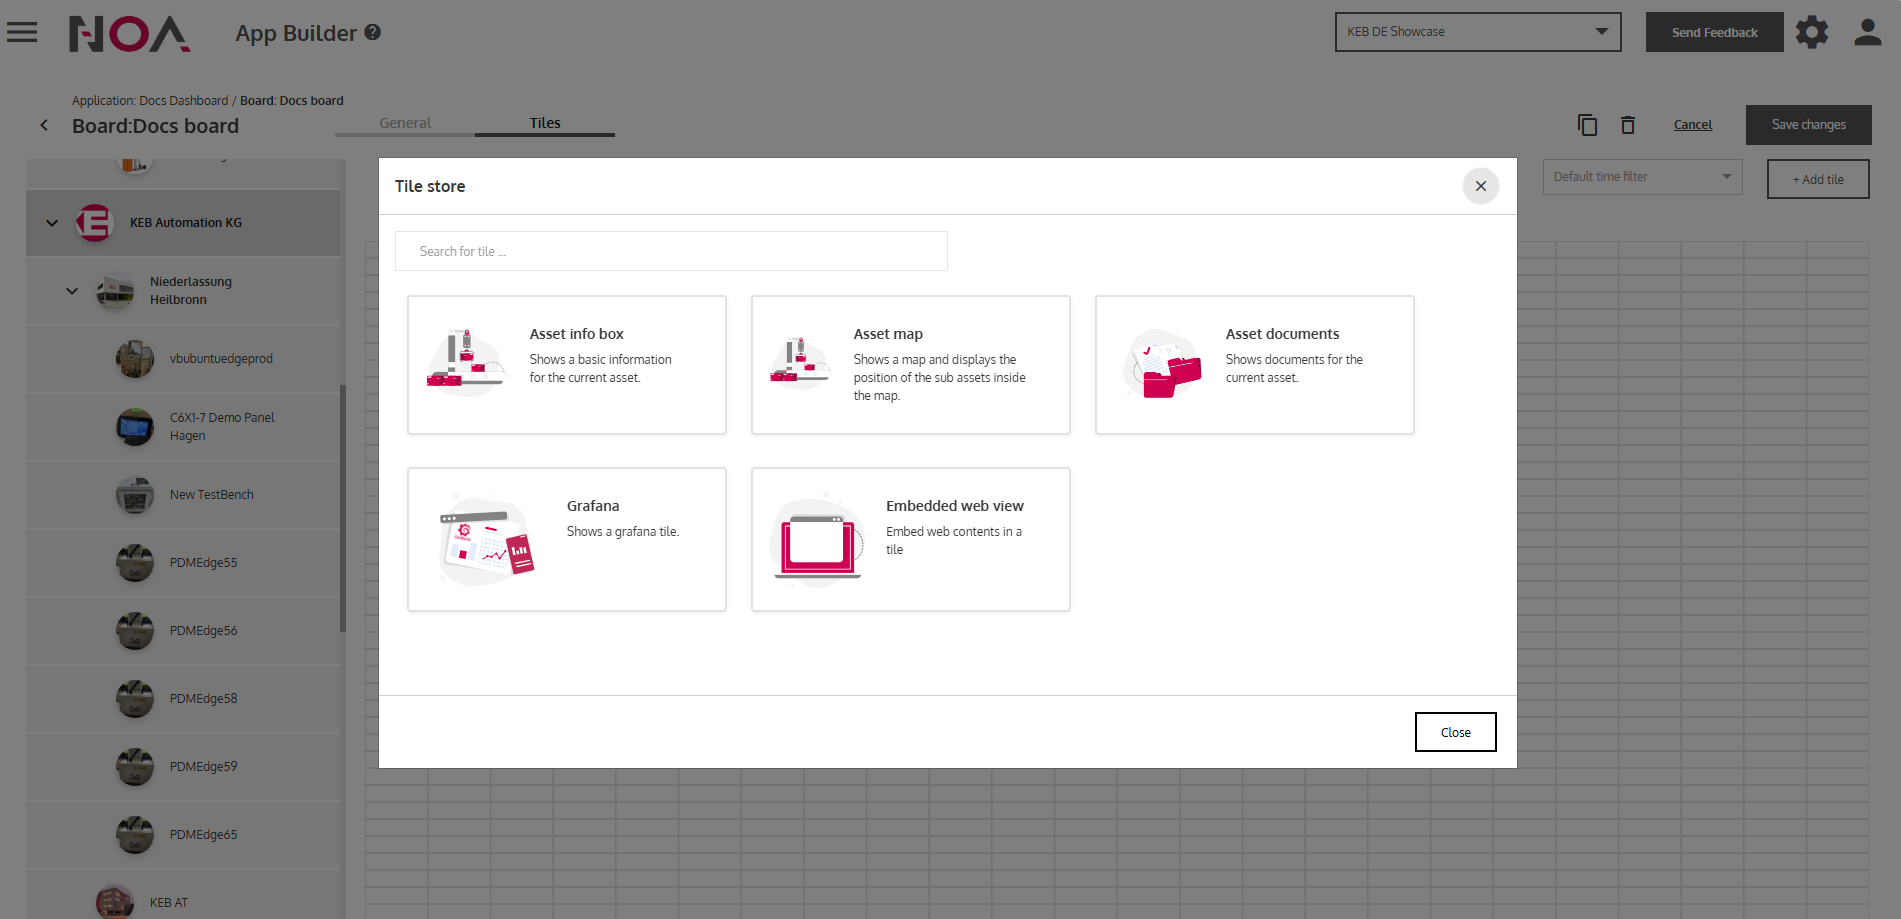
- Click on Grafana
… to add a Grafana Tile.
- Enter the information for the Grafana Tile
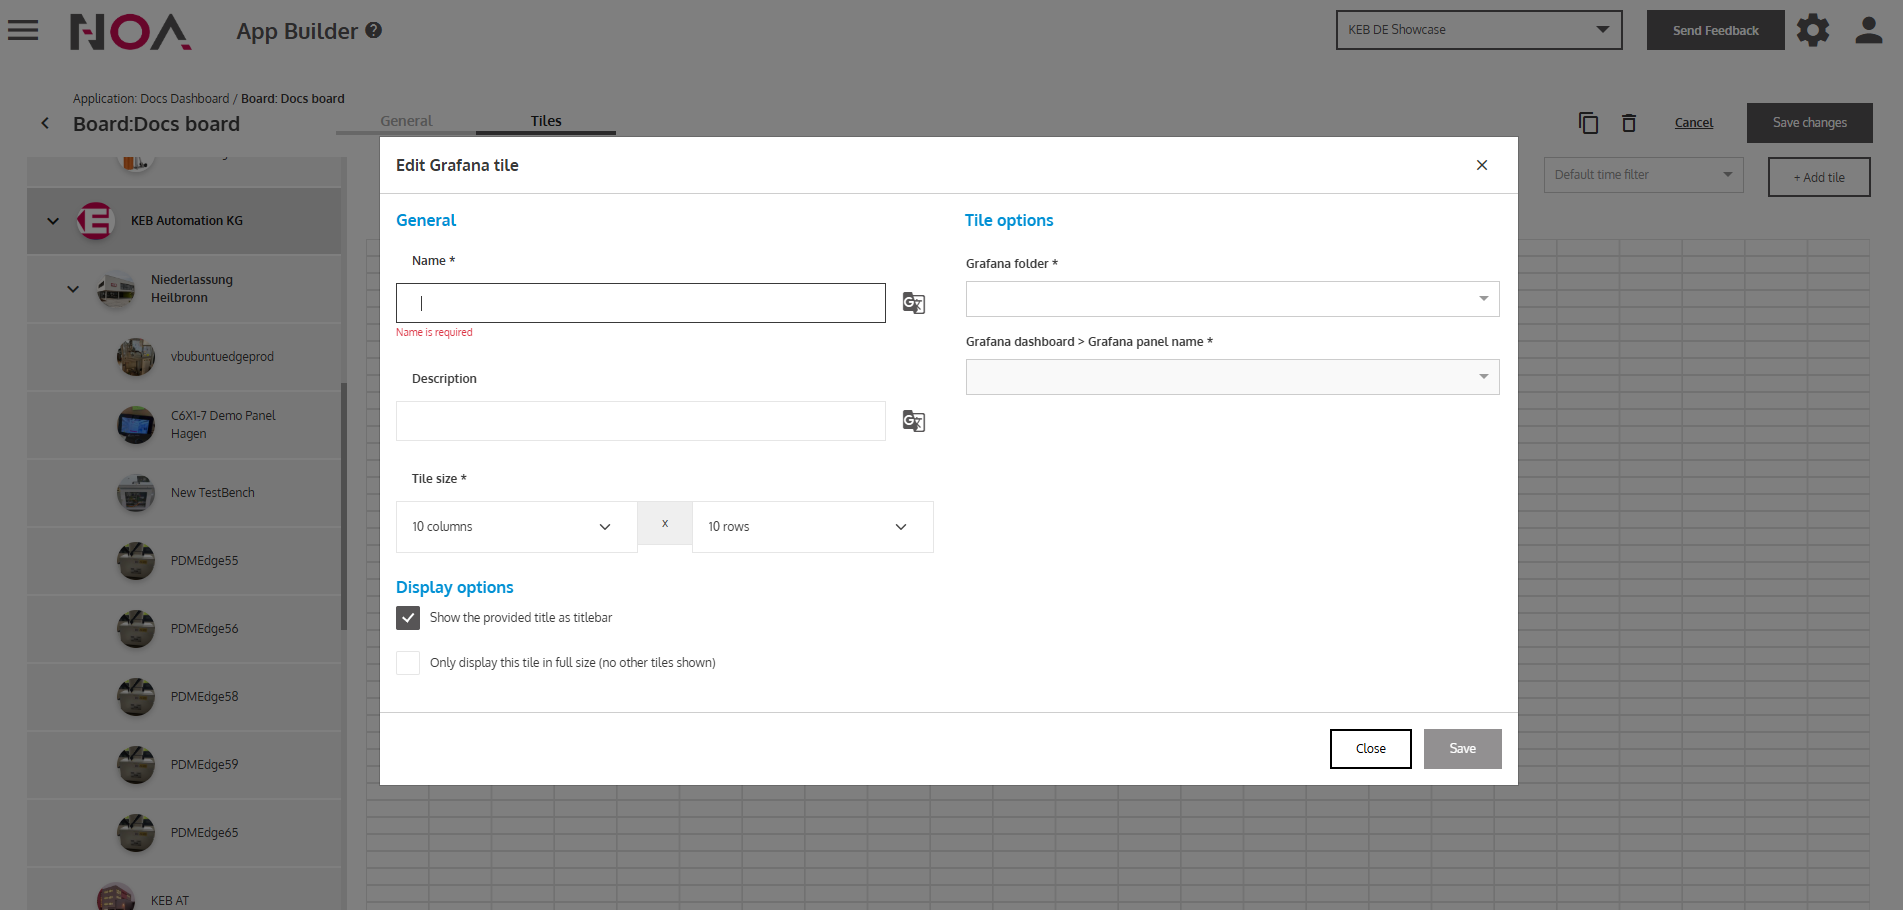
- Select the Grafana folder and Grafana dashboard for the Tile
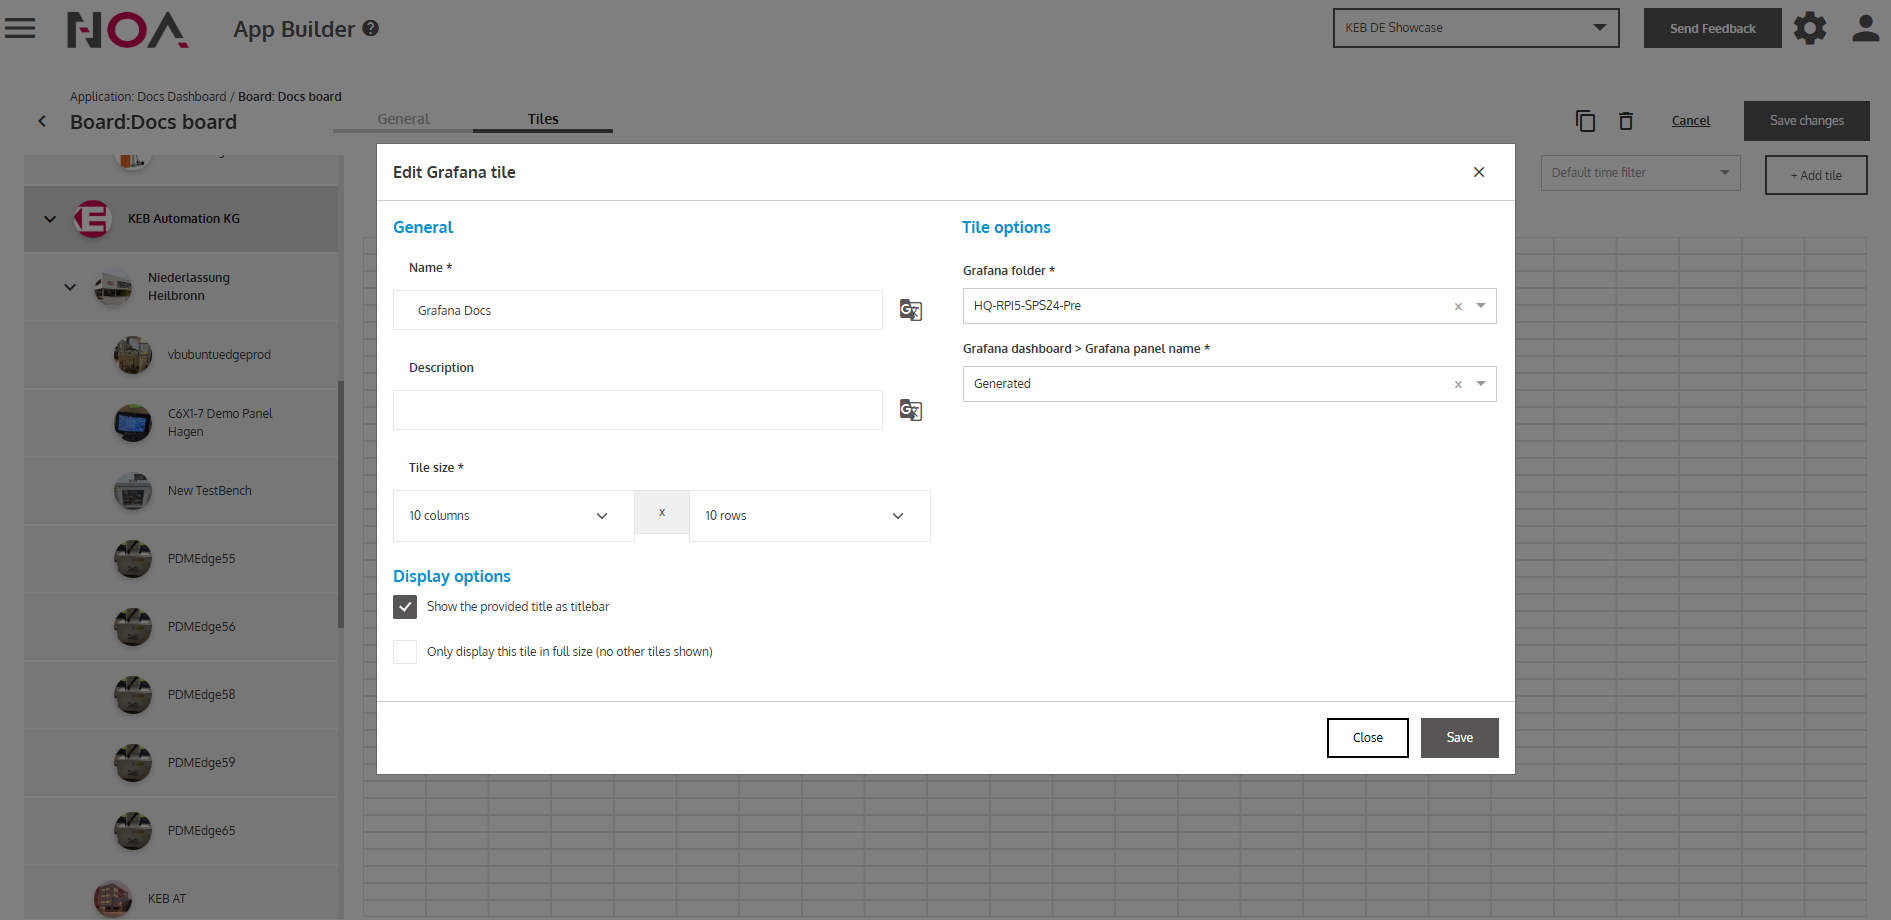
- Click on Save
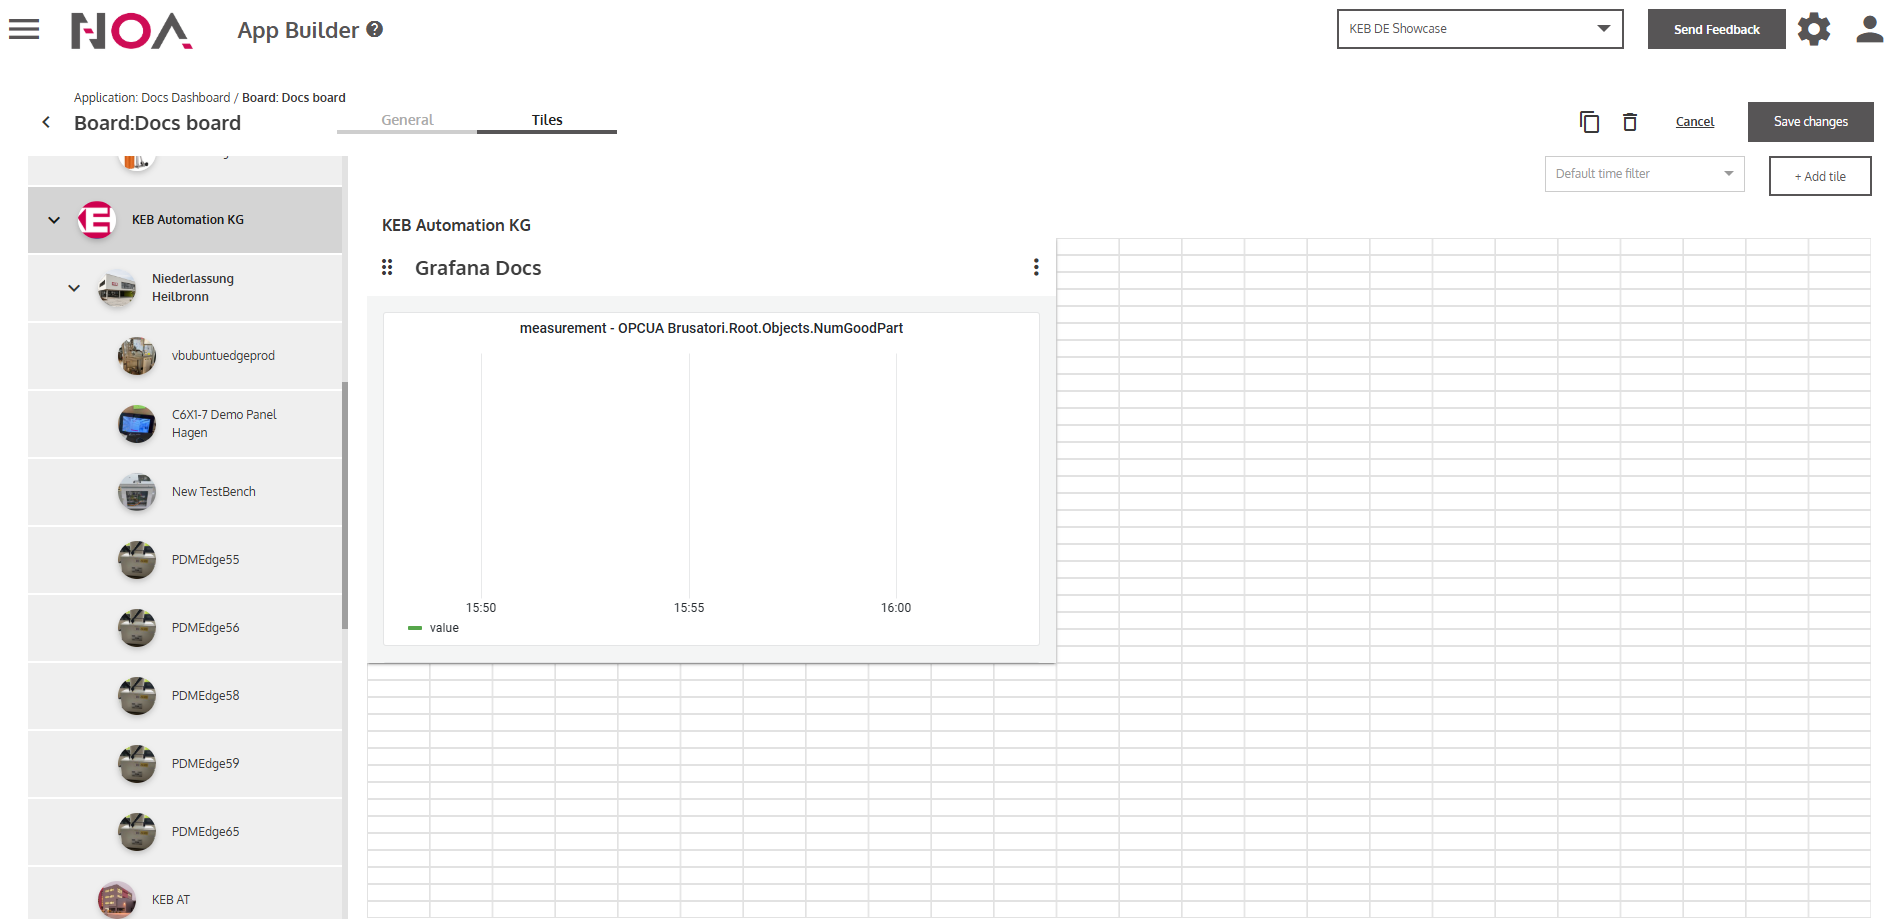
- Click on Save changes
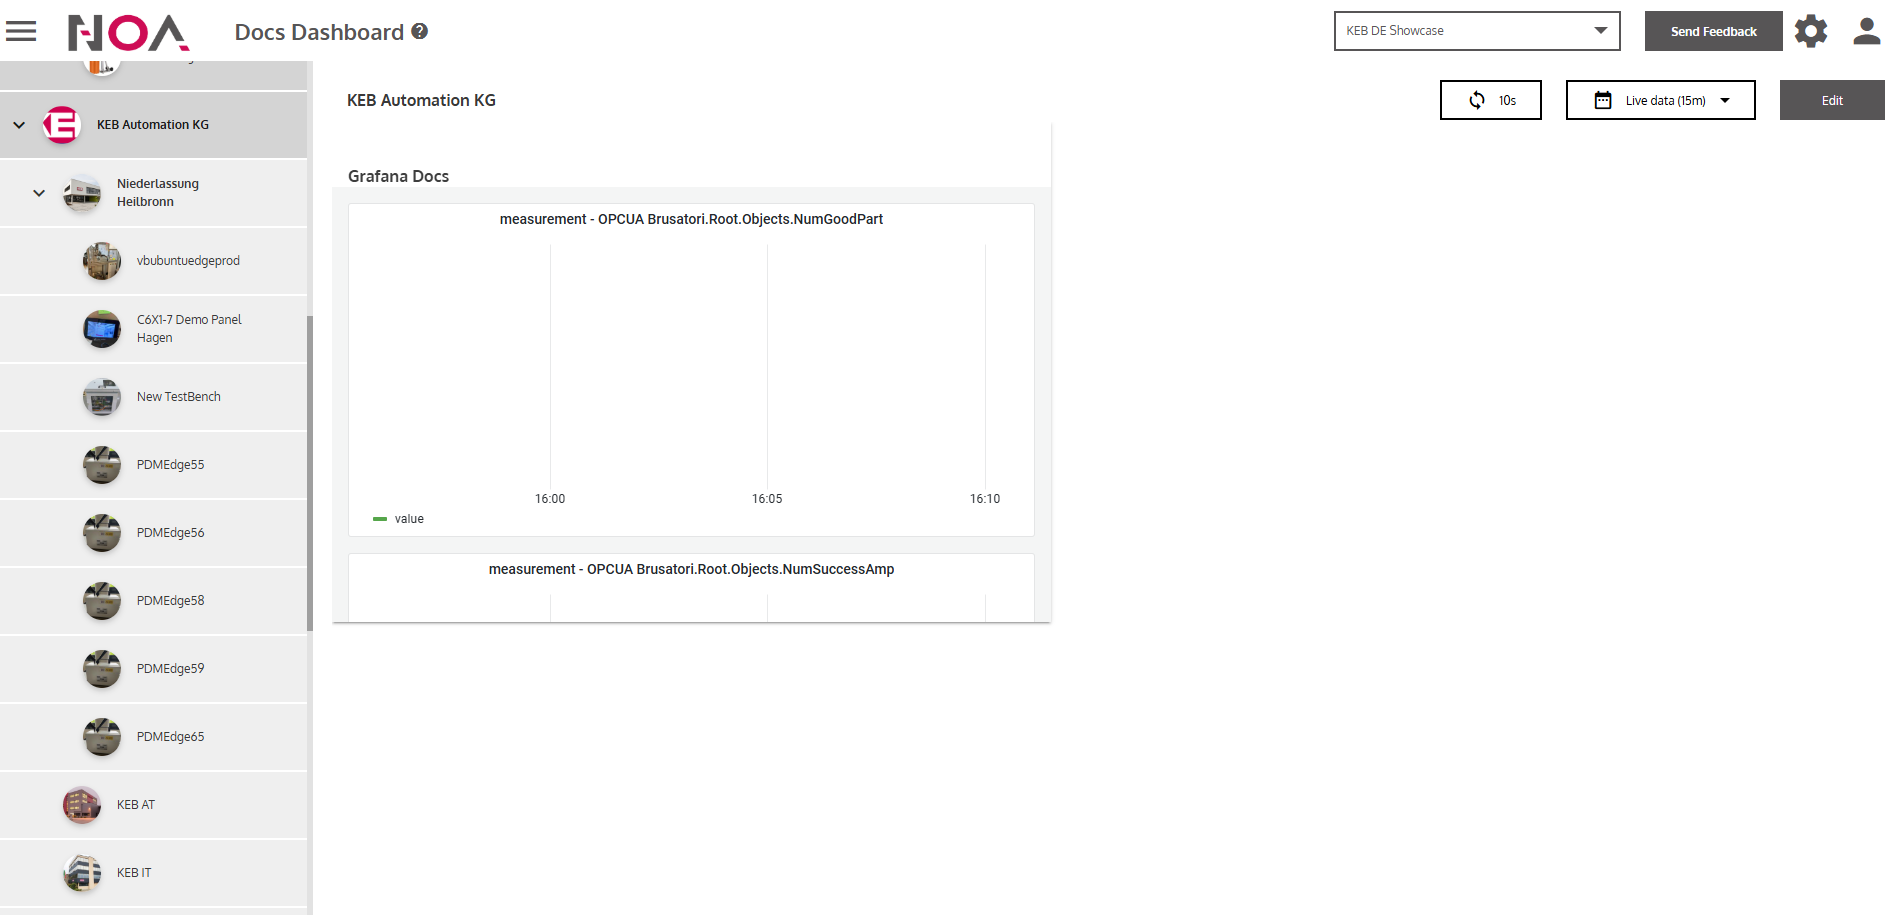
… to save the board. When you navigate back to the Hub, you see a Tile that links to your created Dashboard.

- Click on the Dashboard Tile